If it is broke, make it baroque
-you see what I did there.
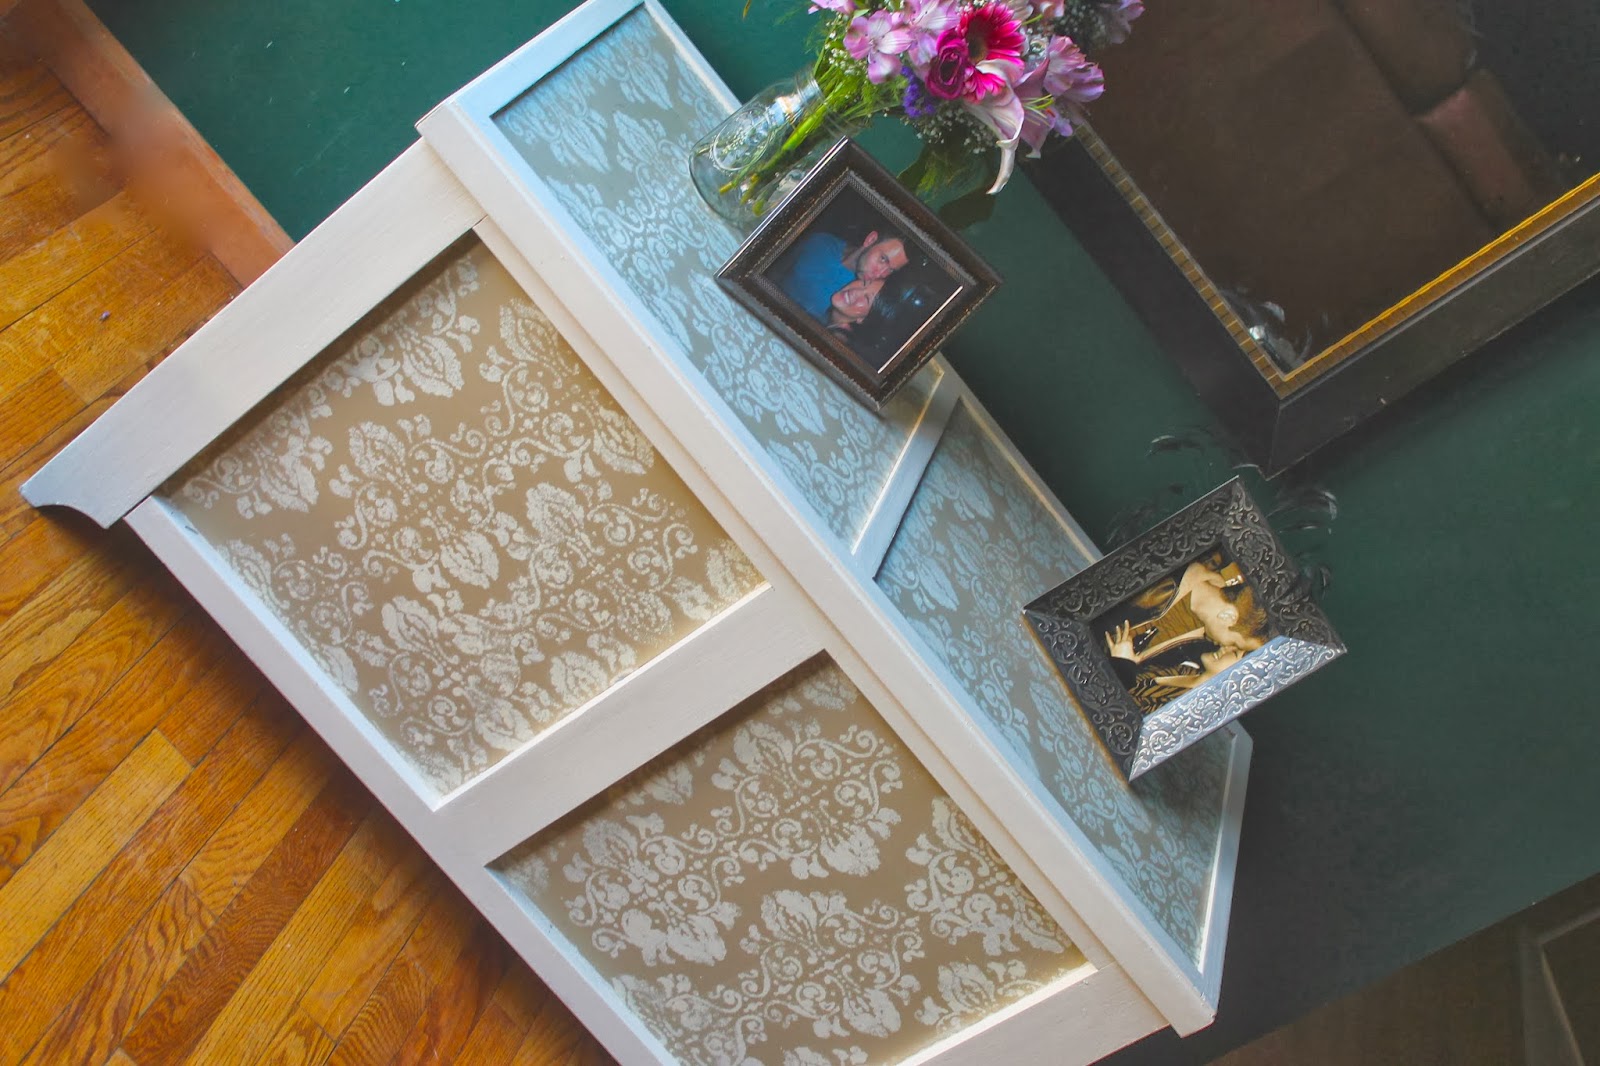
Refinishing furniture is something I have always wanted to get more into. Though, I am certainly no pro and I realize I still have much to learn. I would love to learn to reupholster vintage arm chairs and cool things. But I figured I'd start easy. I've done a dressers, a french lingerie dresser, and now on to this trunk.
This trunk was custom built for me from a friend of my dad's and was left unfinished, but well made, and cedar lined. Truly a great piece, I just showed poor judgement about 10 years ago and painted the trim pink. I now know that most pink is awful, particularly on wood furniture.
I decided I needed something timeless with neutral colors to match almost anywhere I decide to move it next. So check out my easy way to update an old trunk or I think it would be really great on the drawer fronts of a dresser. This is really for any piece of furniture that needs a face-lift.
| what you will need :
2 different one-quart containers of paint
(in complementary contrasting colors)
primer and paint in one spray paint
baroque wall stencil (or pattern of your choice)
newspaper
paint brushes
painter's tape
sandpaper
sanding block
(i used an old cassette case)
clear coat
| PUT newspaper down where you will be working. Fold a piece of sandpaper around the sanding block, or in my case, around the cassette deck and begin sanding vigorously in long, fluid back and forth motions. Do this until mostly all the the paint is off and the surface is sanded smooth.
| NEXT begin taping off the trim. This is important, do it with care and make sure you have straight lines and all your edges are flush.
| NOW mix the paint you planned for the main surface area, leaving the trim paint sealed tight. When you dip your paint brush, only do the tip to ensure better strokes.
| PAINT the large surface areas and you may need two coats here. Then let dry completely before you move to the next steps.
| THEN peel the painter's tape and get ready to move the trunk outside to allow proper ventilation while spray painting.
| NEXT you need to figure out the spacing you want to achieve in the pattern you selected. I chose what I felt fit the size best by using halves of the pattern on the edges and the whole pattern in the middle.
| COVER the exposed areas of the trunk's freshly painted surface surrounding the stencil with newspaper and spraypaint with sweeping, slightly overlapping motions.
| REPEAT on all sides, let dry then set with a sealing top coat.
| FINALLY bring it back into your home and enjoy it.
| F O L L O W M E O N :


Comments
Post a Comment